Canon
Download Printer Driver for Windows and Mac Devices
Download Printer Driver
Recommended For Most Users
2.0.1 | 2.0.1 | Stable Version
Latest Features
2.0.1 | 2.0.1 | Stable Version
For information about supported releases, Click Here.
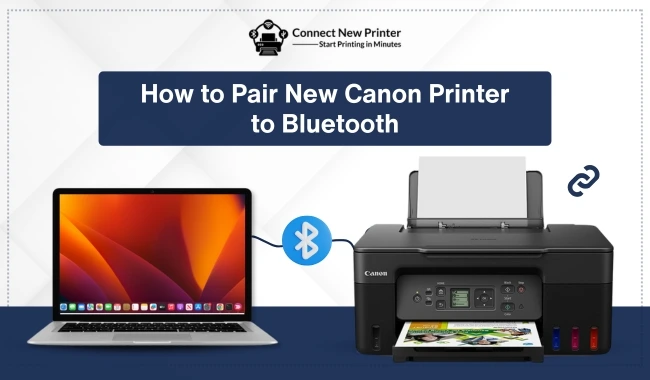
How to Pair New Canon Printer to Bluetooth? (Full Guide)
By Robert Baker
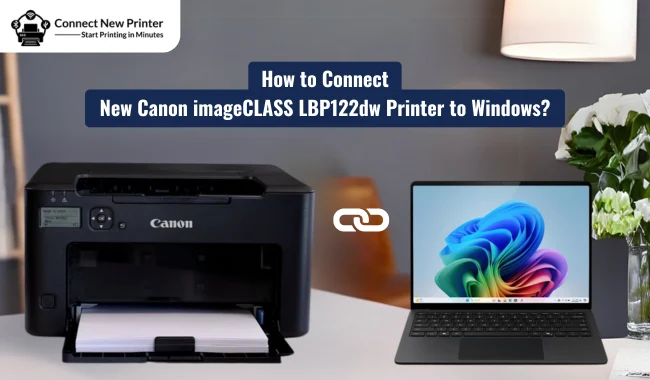
How to Connect New Canon imageCLASS LBP122dw Printer to Windows?
By Robert Baker
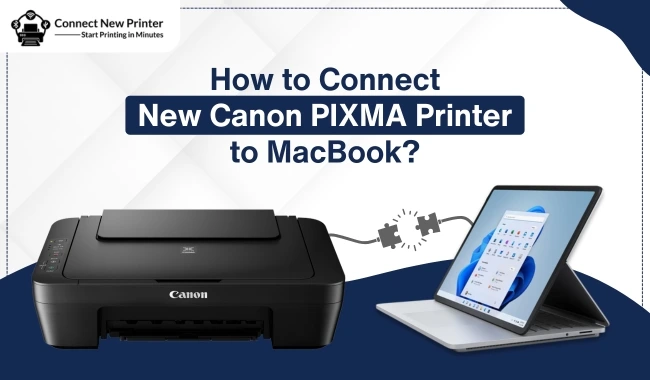
How to Connect New Canon PIXMA Printer to MacBook? (3 Methods)
By Robert Baker
Add New Wireless Canon Printer in Windows 10/11
Here, we will answer the question: how to add new wireless Canon printers to Windows? Canon printers are among the latest on the market. With the increasing technology, the connection types are also increasing. Gone are the days when you had to rely on the wired connection, as now you can add your Canon printer to a wireless network. The Canon printer brings innovative features for the users along with a user-friendly interface. To secure a new Canon wireless printer to Windows, you can choose a suitable connection.
Method 1: Add Canon Printer to Windows With a USB Cable
Although the increasing technology has made wireless connections easy, a wired connection hasn't lost its importance. Many users are still using a USB connection, as it's easy to set up and use. Let's see how to add your new wireless Canon in Windows.
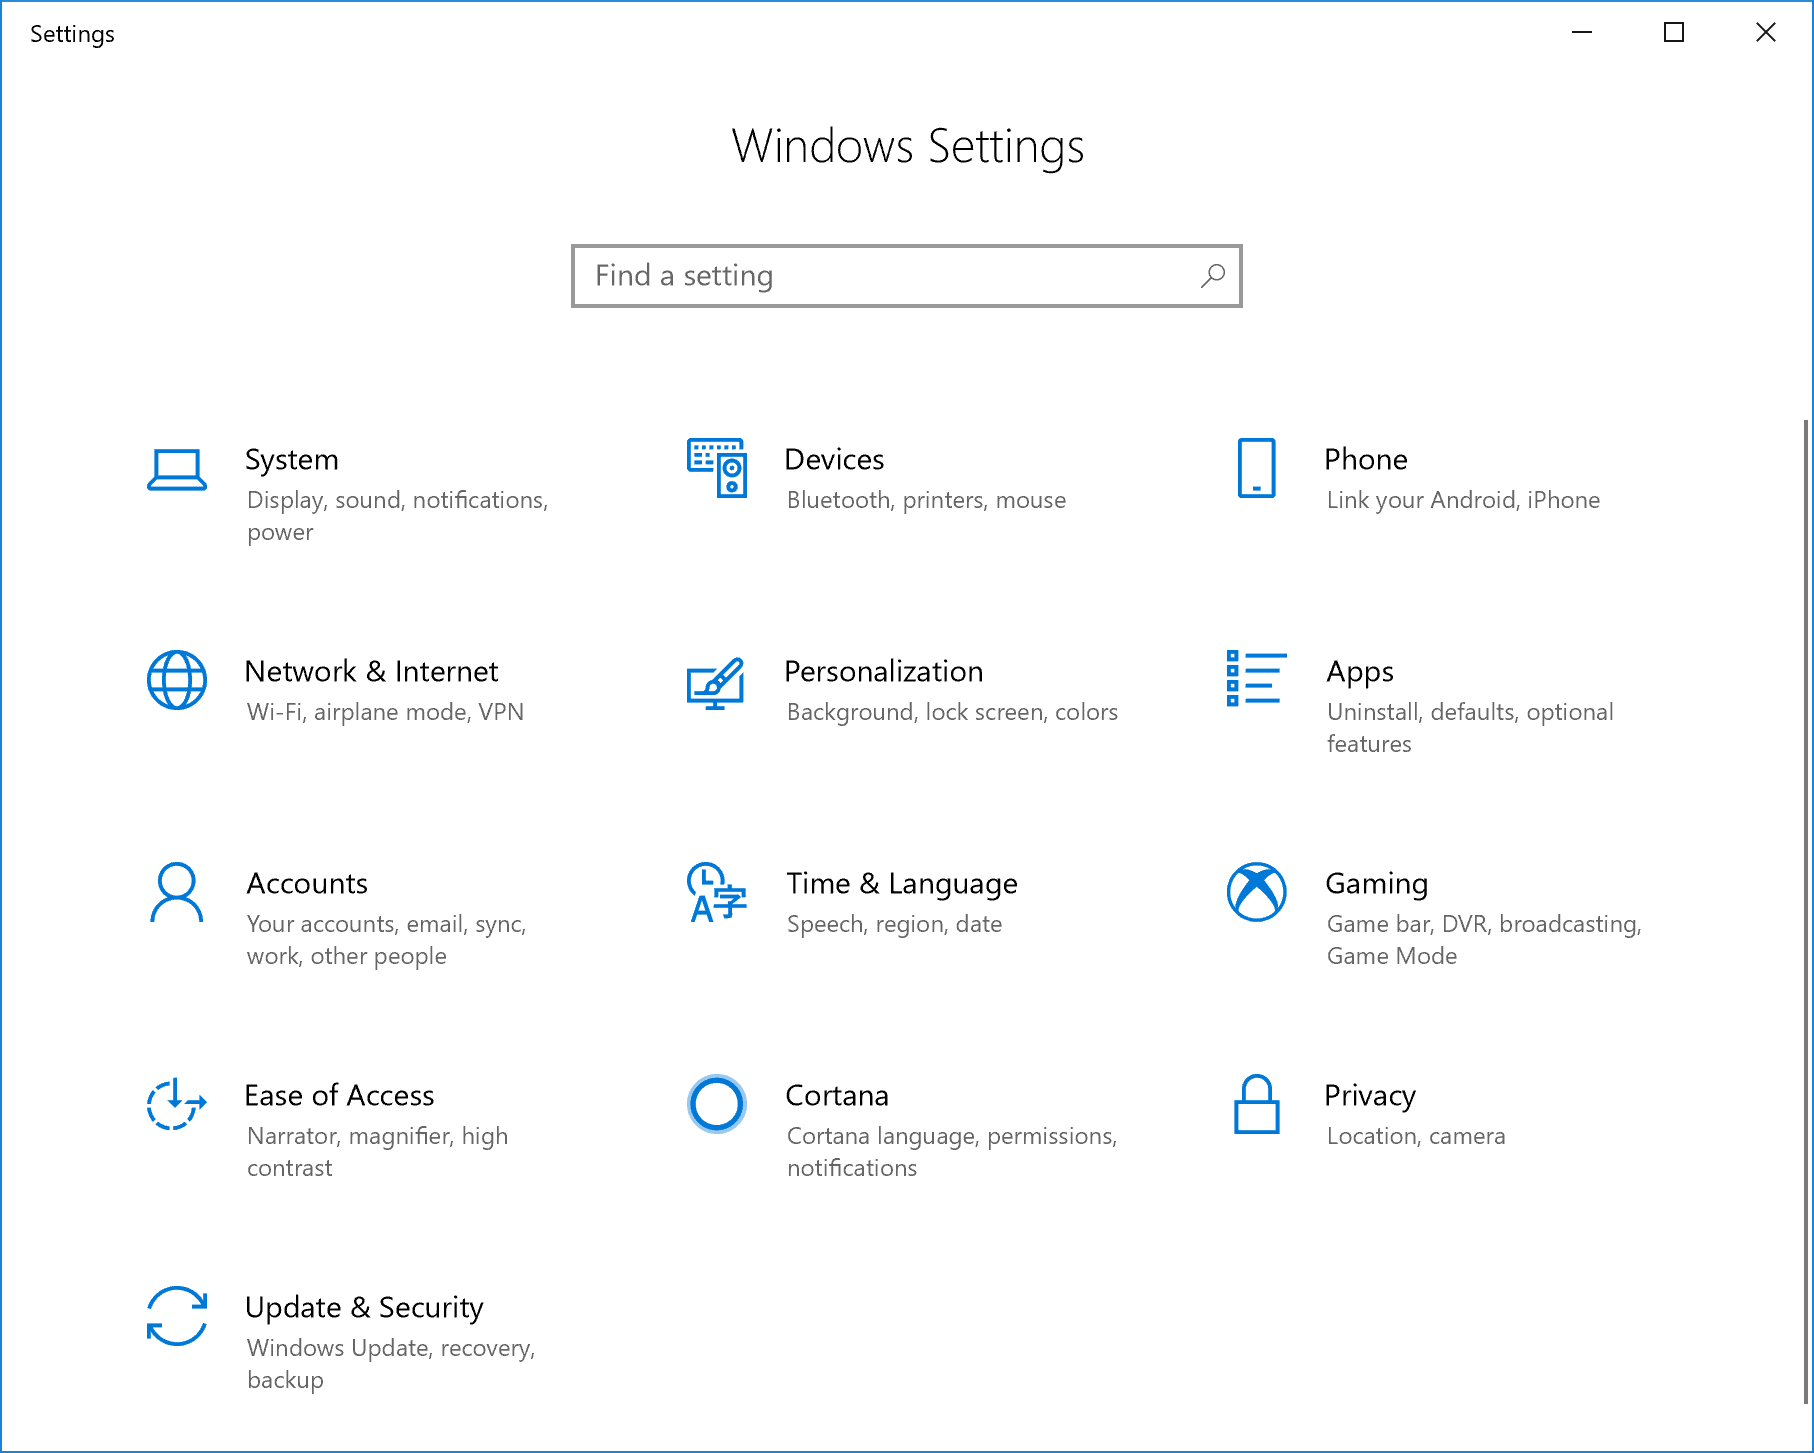
- In the first step, click on the Windows Start menu.
- Then, tap on the Windows Settings option at the left corner.

- Now, you have to click the Labeled Devices option.
- After that, tap on the Printers & Scanners.
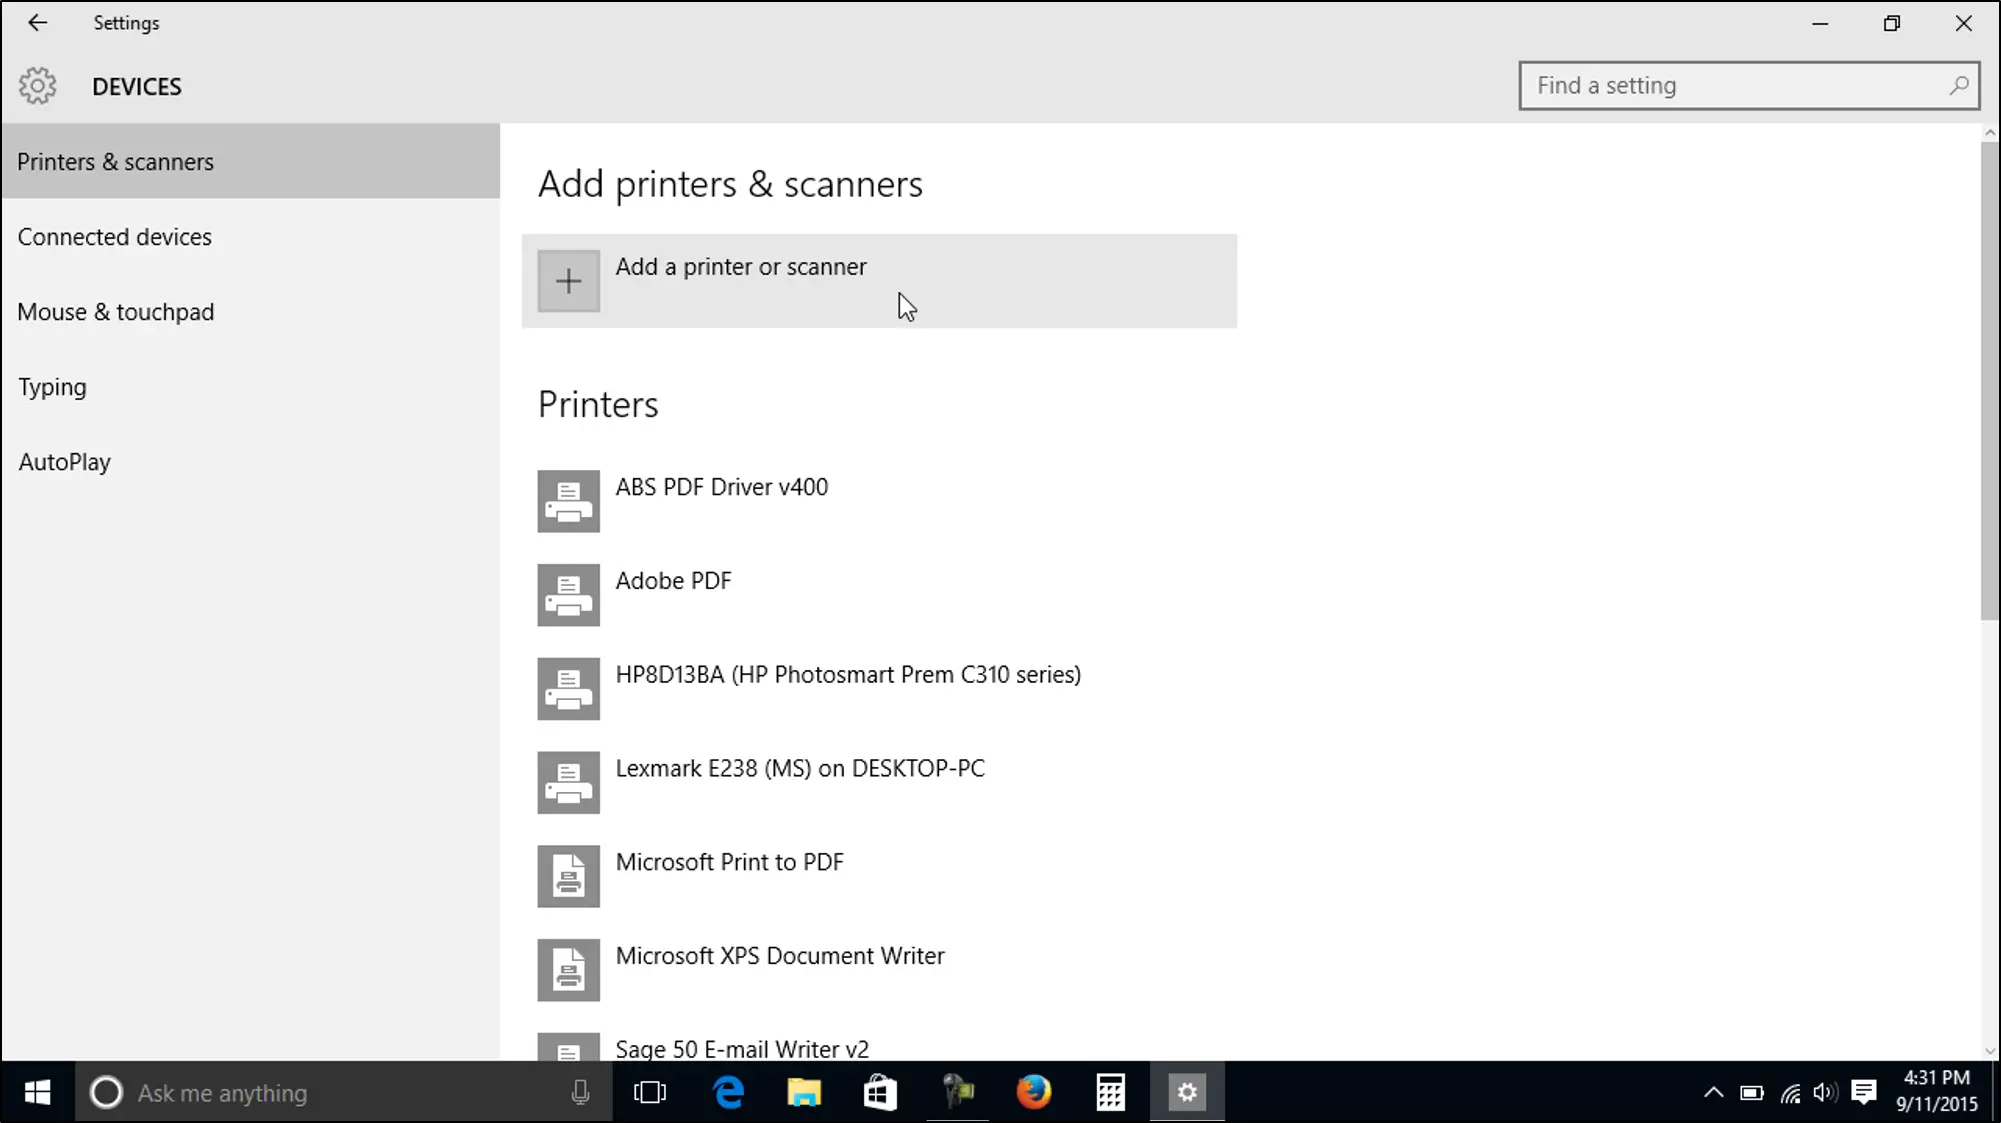
- Next, you'll land on a new page where you have to tap on Add a Printer and Scanner.

- Then, your Canon printer will start scanning nearby devices.
- After that, you can see your printer's name on the screen. Then, you need to click on the name.
- At last, proceed with the on-screen steps to go forward with the installation.
That's it for the wired connection of your Canon wireless printer. If you're looking for professional support, we are here to help you with your printer's connectivity problems. The method for contacting us is so easy. Just visit our website at connectnewprinter.com and head to the Support tab. From there, you can chat with us or call us to talk to one of our technical experts.
Method 2: Add Canon Printer to Computer Using Wi-Fi
The wireless network is a new method of connection, but it is a little difficult to set up. If you don't know how to add new wireless Canon printers to Windows via Wi-Fi, look at our steps.
Note: You can also watch our YouTube videos for a proper connection guide; simply click here to access the tutorials, https://www.youtube.com/watch?v=zP5heQmoMLg&t=50s
- Once your device is ready, connect it to the Wi-Fi network.
- Then, all the available networks will appear on your LCD screen.
- Now, tap on the Setup page to set up the Wireless LAN Settings.
- After that, find your home network or SSID.
- To find the SSID, hover your mouse over the Wi-Fi icon on your screen.
- Otherwise, you can find the SSID at the bottom of your ISP's router.
- Next, put your network password with the selected SSID.
- After supplying the password, your network will get ready for printing.
- Now, you have to tap on the Start menu.
- Then, you'll see a gear icon in the left corner.
- After that, tap on the Labeled Devices option.
- Next, select the Printers and Scanners option.
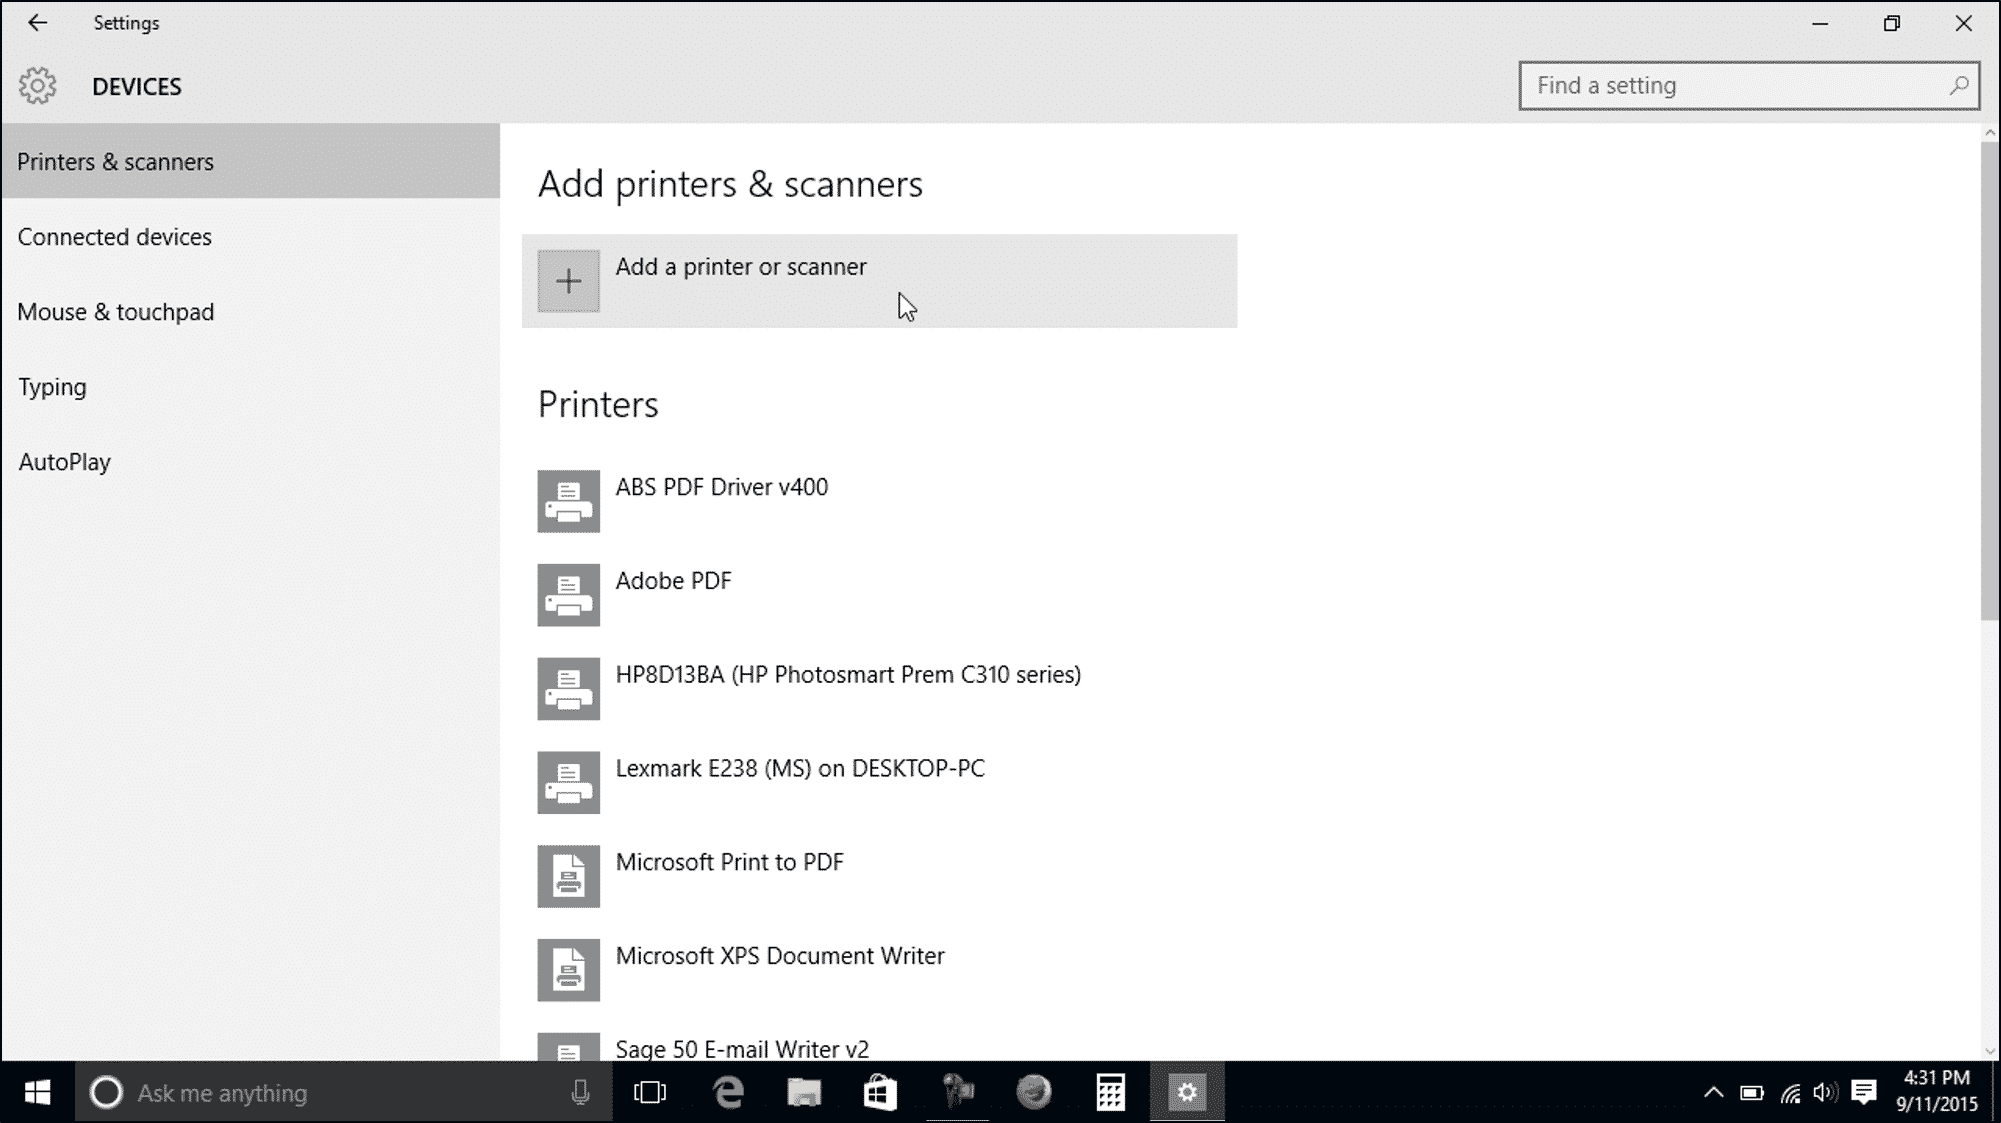
- Then, you'll land on the new screen. Here, tap on the Add a Printer and Scanner option.
- Then, your Canon printer will start detecting the available devices. When you see your printer's name, click on the device name.
- Now, you can proceed with the on-screen instructions for installation.
That's how you'll add new wireless Canon printers to Windows via a wireless network and complete its setup on your Windows.
Method 3: Add Canon Wireless Printer to Laptop
Users who don't have a desktop and want to connect their Canon printer to a laptop should get ready to start. Below are the steps to connect your Canon printer to a wireless network on your laptop.
- In the first step, power off your Canon printer.
- Then, put the double-end USB cable into the printer and laptop's USB port.
- Now, navigate to an internet browser on your laptop.
- After that, browse Canon PIXMA's official website.
- Now, get the latest Canon printer drivers from the website.
- Next, head to the Windows Start menu at the bottom of your screen.
- Then, open the Control Panel on your laptop and go to Hardware and Sound.
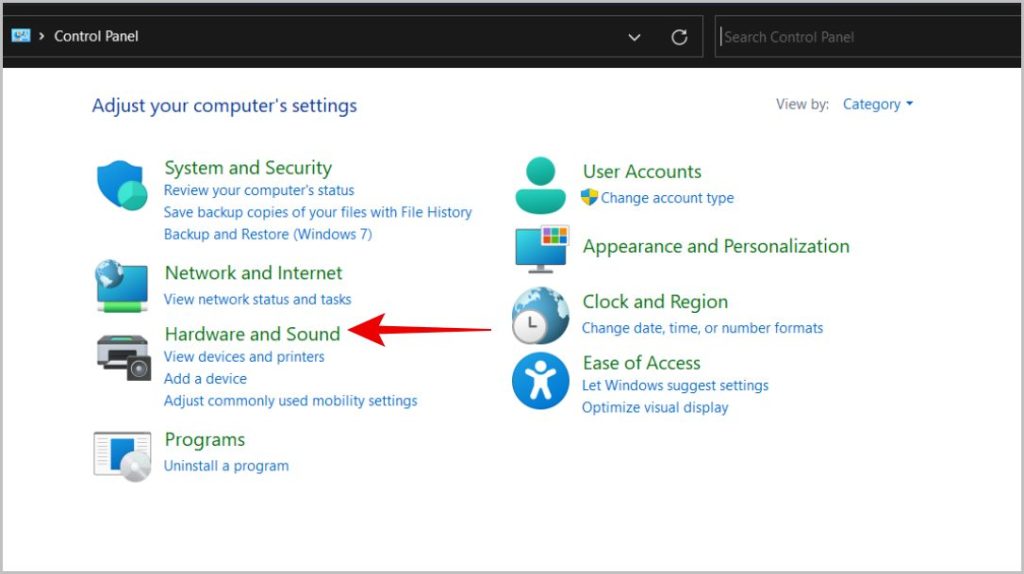
- Now, click on the Add Printer option and choose your Local printer from there.
- Next, choose a printer port from the list of ports.
- Now, tap on Next.
- Choose Yes to select the Canon printer as a default printer.
- At last, tap the Finish button to finish the process.

Finally, your laptop will connect to the Canon printer, and now you can continue with all the steps ahead.
Conclusion
You have learned how to add new wireless Canon printers to Windows through wired and wireless connections. You can connect your Canon printer to any device easily now. However, the connection processes are always tricky, and you may have to deal with some uncertainties with your devices. In such situations, the right professional help can save you. We can provide you with that support and accurate solutions to your problems.
Frequently Asked Questions
Question
What is the Easiest Way to Connect My Canon Printer to My Computer?
A USB connection is one of the easiest ways to connect your Canon printer to a computer. As it's the oldest method of connection, most users are comfortable with this type of connection. The method is quick; you only need to connect one end of the USB cable to your computer's USB port and another to the printer's USB port. After that, your computer will recognize your printer, and the connection will be made.
Question
How Do I Connect My Canon Printer to Windows Wirelessly?
The process to connect your Canon printer to a Windows computer is simple; look at the steps below:
- On your Canon printer, tap on the Setup Page and then Wireless LAN Settings.
- Then, locate your SSID network.
- To find your SSID network, hover your mouse over the Wi-Fi icon.
- Now, supply the password for your SSID network.
- After that, provide your password, and your network will get ready for printing.
- Head to the Start menu.
- Then, tap on Printers and Scanners.
- You'll land on a new page. There, tap on the Add a Printer and Scanner option.
- After that, your printer will look for the available printers.
- Once you see your printer's name in the list, tap on it.
Question
How Do I Add My Canon Printer to My Laptop?
The steps are quite easy for connecting a Canon printer to a laptop:
- Switch off your Canon printer.
- Then, put the USB cable into the ports on your printer and laptop.
- Now, navigate to a browser on your laptop.
- Afterward, visit the Canon PIXMA's website.
- After that, get the printer drivers.
- Next, go to the Windows menu and open the Control Panel.
- Then, select the Hardware and Sound option.
- Now, tap on the Devices and Printers.
- Lastly, click on Add a Printer and choose a local printer.