Xerox
Download Printer Driver for Windows and Mac Devices
Download Printer Driver
Recommended For Most Users
2.0.1 | 2.0.1 | Stable Version
Latest Features
2.0.1 | 2.0.1 | Stable Version
For information about supported releases, Click Here.
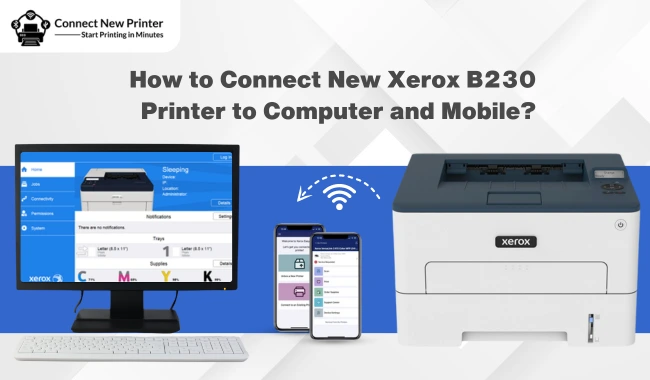
How to Connect New Xerox B230 Printer to Computer and Mobile?
By Robert Baker
Add New Wireless Xerox Printer to Wireless Network
Xerox wireless printer connects seamlessly to computer and Wi-Fi networks. Also, the advanced features and smart specs of the printer allow it to give impressive printing results. Also, these printers are suitable printing machines to use for personal, small offices, or big enterprises. Also, Xerox wireless printers come with the Wi-Fi connectivity option to use the device. Users can use various methods to connect new Xerox printer to Wi-Fi. However, if you are a new user, there are fair chances of making mistakes. Hence, to help you with this content, there will be various methods to connect the printer to the Wi-Fi network. So, keep reading this guide till the end.
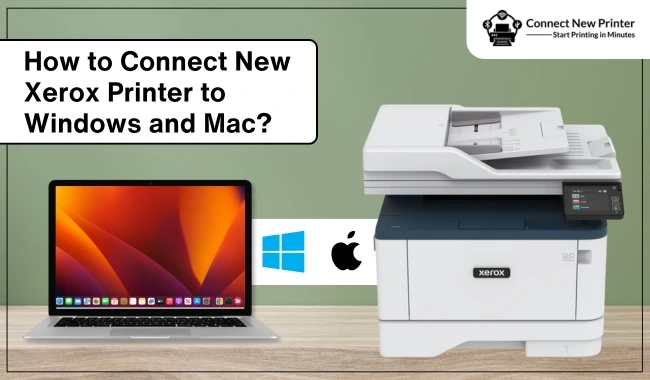
Method 1: Connect New Xerox Printer to Wi-Fi (With Touchscreen)
If you want to connect your Xerox wireless printer to Wi-Fi using the touchscreen wizard on your device, then follow the below steps.
- Firstly, log in as a System Administrator at the Control Panel of your Xerox printer.
- For that, tap on the login button.
- Choose the Admin option.
- Tap on the OK option after entering the administrator’s password.
- Afterward, you need to select the Home button on the Xerox printer.
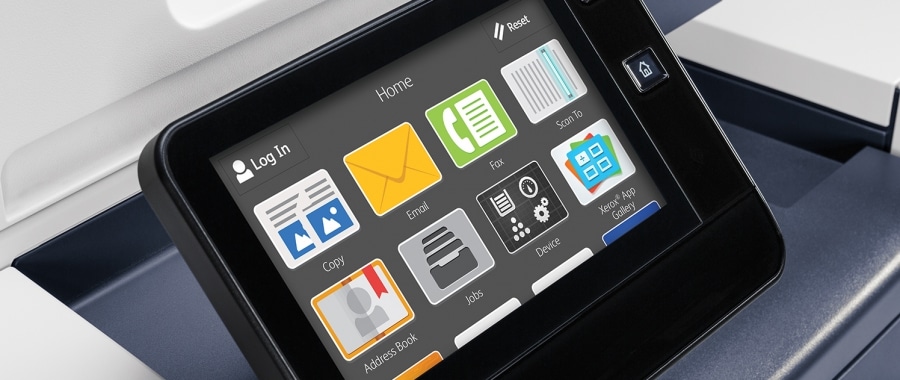
- Then go to the Devices option and select Connectivity.
- After that, you have to select the option of Wi-Fi.
- A list of wireless network options will appear on the screen; choose your wireless network option.
- Next, you may have to enter the password for your network; enter the correct password and choose OK.
- Now, touch the Close option on the notification.
- You have to press the Home button if you want to activate the Wi-Fi setting changes.
- When the prompt shows up on the screen, then select Restart Now.
- Finally, check if your Xerox wireless printer is connected to the Wi-Fi network or not.
If you are having any issues connecting your Xerox printer to Wi-Fi, then you can get a free consultation from our experts at connectnewprinter.com. On the website, you can have instant professional assistance via call or chat.
Method 2: Connect New Xerox Printer to the WPS Wireless Network Using PBC
You can connect your Xerox printer to Wi-Fi using the PBC button on your router. Hence, here are the steps you need to follow for that.
- Go to the printer’s Control Panel and log in as administrator.
- Once that’s done, touch the Home button on the touchscreen.
- After that, touch Devices and then tap on Connectivity.
- And then, press the Wi-Fi button.
- Check if your Wi-Fi is on; turn it on if you find it off. (You need to touch the Wi-Fi toggle button to turn on the Wi-Fi.)
- On the prompt, press the Restart Now option.
- Next, your Xerox printer will restart.
- Afterward, follow the path Device > Connectivity > Wi-Fi.
- And then, click on the option of the Manual Setup.
- Touch Wi-Fi Protected Setup (WPS). (If you do not see the WPS option, then select the Manual Setup option.)
- Then, you have to select PBC and then touch OK.
- Move to your wireless router and press the WPS button. (If your wireless router does not have a physical PBC button, then go to the router's control panel in your computer to select the virtual WPS button.)
- In order to activate the changes of Wi-Fi settings in your Xerox printer, restart your printer device.
- After restarting your printer device, go to the network information that includes the IP address and print the configuration report.
If your printer is still unable to connect to the Wi-Fi network, then see the details in the configuration report and try again. If you want additional help, then contact our customer support team from the Support section on our connectnewprinter.com website to get help.
Method 3: Connect New Xerox Printer to Wi-Fi (Manually)
In order to connect Xerox printer to a Wi-Fi network manually, you are required to follow the guide mentioned below:
- Initially, you have to connect your computer device to your computer using the Ethernet wired network.
- Then go to the Embedded Web Server of the printer and then log in as system administrator.
- After that, select the Connectivity option.
- Choose the Wi-Fi option for connections.
- Now, type the network SSID (name) in the field of SSID.
- In order to choose the Network Type, select the option of Infrastructure or AdHoc from the menu.
- If you want to select Encryption for your Security Settings, then choose the right security option for your router.
- Next, enter the passcode in its field.
- Then, go to the Retype Password field and enter the passcode once again.
- And then select the OK option.
- Choose the Restart Now option to activate the changes you have made.
- Now, you need to disconnect the Ethernet wire from your computer device.
- Once your printer restarts, wait for a few minutes and then go to the network information that includes the IP address to print a Configuration Report.
- See the details in the configuration report and connect the printer.
Go to our Support page if you are unable to connect new Xerox printer to Wi-Fi. Here, we provide free consultation via chat or call. Also, printer experts will help you set up your Xerox printer without any hassle.
Frequently Asked Questions
Question
How to Connect Xerox Printer to Wi-Fi?
The following steps will help you connect your Xerox printer to the Wi-Fi network.
- First, you have to go to the printer’s panel and log in as an administrator.
- Then touch the Home button then go to device > Connectivity > Wi-Fi.
- After that, turn on the Wi-Fi toggle.
- Next, select the network name from the list.
- Then, enter the password for your Wi-Fi network.
- Press the Home button to activate the changes you have made.
- After that, in the prompt, click on the Start Now option.
Question
Why is My Xerox Printer Not Connecting to Wi-Fi?
- The printer is not in the range of a Wi-Fi network.
- The Wi-Fi network is unable to communicate with your Wi-Fi network.
- Your Xerox printer driver is not updated or is missing.
- There is some technical fault in the printer.
- You are not following the right method to connect the printer.
- There is some issue with the Wi-Fi router and others.
Question
How Can I Fix My Xerox Printer Not Connecting to Wi-Fi?
If you are unable to connect the Xerox printer to Wi-Fi, then follow the steps below.
- Restart your printer device.
- Turn Off and then turn On the Wi-Fi router.
- Update the driver for your Xerox printer device.
- Follow the correct method to connect the printer to Wi-Fi.
- Make sure the printer is close to the Wi-Fi router.
- Contact the Xerox support team or go to connectnewprinter.com.