
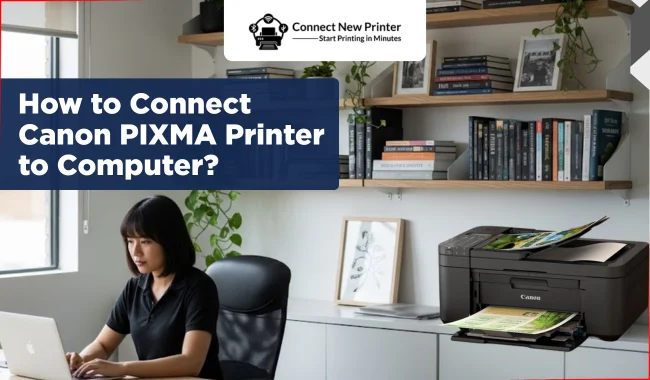
How to Connect Canon PIXMA Printer to Computer? (Easy Guide)
June 5, 2025

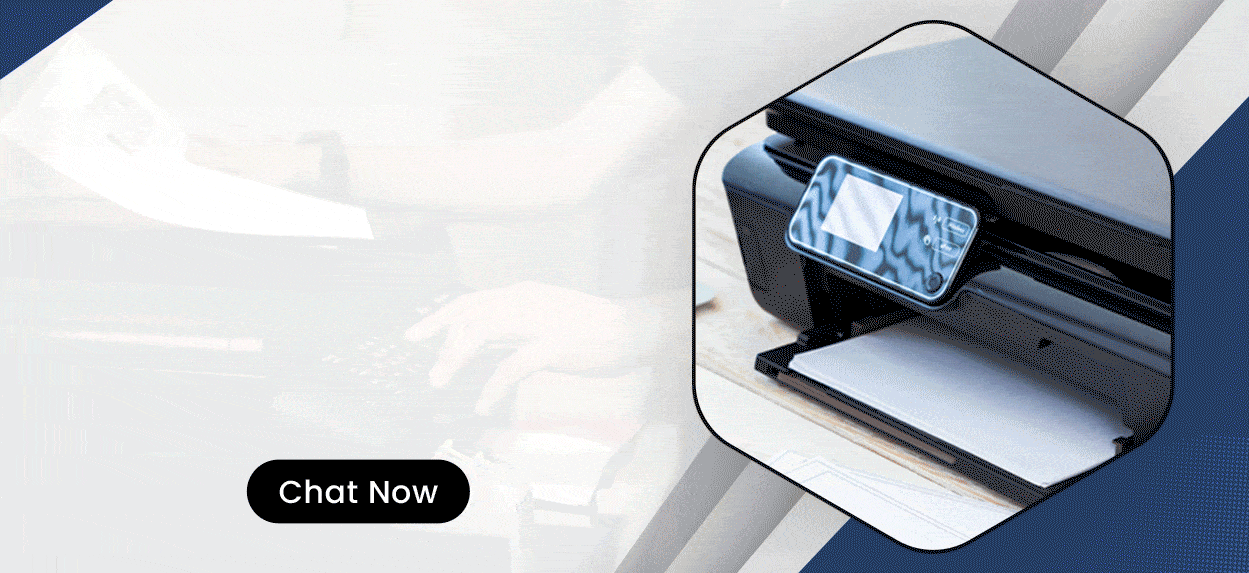
This guide will reveal the best methods to connect a Canon PIXMA printer to a computer easily. Users often find it difficult to set up their printers on various devices. Hence, this guide will give you a brief overview of the connection process, which will help you set up your printer to a Windows computer. Let’s learn 'How to connect Canon printer to computer'.
When it comes to their quality and appearance, these printers are highly advanced and elegant. Plus, their print quality results are also amazing. Beginners and professionals can use these printers to print important documents. Explore how to set up your printer wirelessly and add it to your computer.
How to Connect Canon Printer to Wi-Fi?
Before connecting a Canon printer to a wireless connection, it’s important to connect it to a wireless network. You can use different methods to connect them to a wireless network. Here are the two main methods explained. Let’s check them.
Method 1: Using WPS PIN Code
This is the first method to connect your printer to a wireless network. Check out the steps below and follow them one by one.
- First of all, put the letter-sized papers into the Canon’s paper tray.
- Then, head to the Control Panel on the printer’s display and hit the information button.
- Now, you will see the network configuration page with a PIN code.
- After that, repeatedly press the Setup button until the desired option appears.
- Next, hit the Color option.
- Follow the on-screen steps and create a WPS PIN code.
- The network status will appear on the printer’s screen.
- Lastly, your printer will connect to a wireless network.
That’s how to connect a Canon printer to a wireless network. Now, you are ready to connect your printer to the computer.
Method 2: With WPS Button
This is the second method to connect your printer to a wireless network. This method is mostly preferred when setting up different printers on a wireless network. Check out the steps below to set up a connection.
- First, turn on your printer and hit the Settings button using the arrow keys.
- Then, click the Wireless LAN Setup option on the printer’s screen.
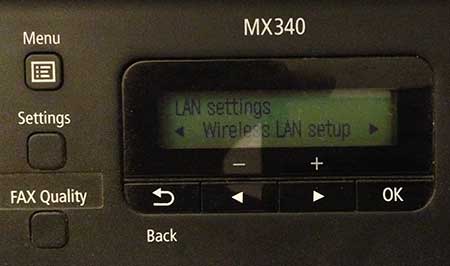
- Now, click OK and go to the WPS push button using the arrow keys on the printer’s screen.
- Click OK, and then a notification will appear about the connection on the printer’s screen.
- On the router, press the WPS button.
- Next, you will see a confirmation message on your printer’s screen.
- Finally, you can add your printer to a computer.
These are the simplified steps to connect a Canon printer to a wireless connection. Now, it’s time to learn the steps involved in adding your printer to the computer.
How to Connect Canon Printer to Computer?
Once you have connected your printer to a wireless network, you can add the printer to a Windows computer using the steps below:
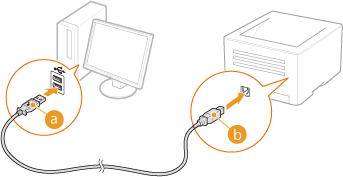
Method 1: Via a USB Cable
If you use a wired connection, a USB connection would be a great choice. Check out the steps below to connect a Canon printer to a computer via USB.
- In the first step, connect your USB cable to both devices.
- Then, confirm that the printer is connected to a power supply.
- Now, turn on the printer.
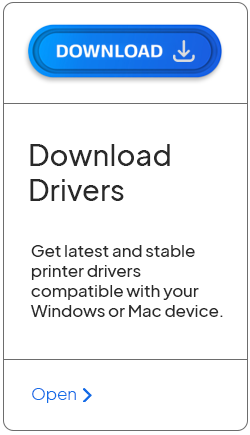
- Next, download and install the necessary printer software from Canon’s official website.
Now that you've connected your Canon printer using a USB cable, let’s explore another method.
Method 2: Through Wi-Fi
If you prefer a wireless connection, this is the best method to get started. A Wi-Fi connection would be great for connecting the printer to a computer. Let’s check out the steps below:
- First of all, confirm that the printer is turned on and that the Wi-Fi is within range.
- Then, head to the printer’s Control Panel.
- Now, locate the Wi-Fi setup menu.
- After that, select your wireless network from the networks list.
- Next, supply your network’s password in the given space.
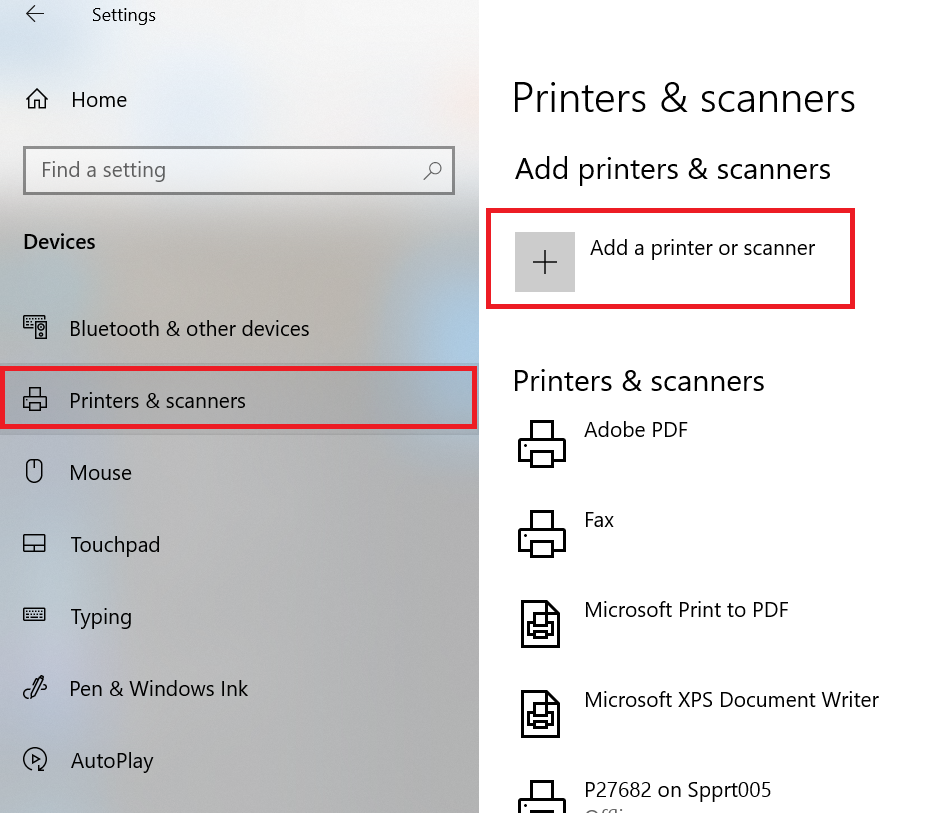
- Launch the Settings on the Windows computer.
- In the next step, navigate to the Printers & scanners option.
- Now, click the Add a printer or scanner option and choose your printer’s name from the list.
- Download a suitable printer driver from Canon’s official website.
- Lastly, take a test print to verify the connection.
That’s 'how to connect Canon printer to computer' wirelessly. It’s time to take test prints and complete the necessary tasks on time.
Frequently Asked Questions
Question
How to Connect Canon Printer to Computer via USB?
These are the steps to connect a printer to a computer using a USB cable:
- Power on the printer and your computer.
- Then, plug the USB cable into the printer and
computer.
- Now, install the latest printer drivers from Canon’s
official website.
- After that, head to the Devices and Printers under the Control Panel.
- On Mac, click the Printers & Scanners option under the System Settings.
- Lastly, continue with the on-screen prompts.
Question
How Do I Connect Canon Printer to Laptop via Bluetooth?
Check out the steps below to connect a printer to a laptop via Bluetooth:
- In the
first step, head to the Control Panel on the laptop.
- Then, click the Printers
and Devices option.
- Now, click the
Bluetooth devices option.
- After that, turn on your printer.
- Confirm the device connection.
- Finally, hit the Next option to complete the process.
Question
How Do I Connect My Canon Printer to Windows 10?
Check out the steps below to connect your printer to Windows 10:
- To begin,
enable Bluetooth on your Windows 10 computer.
- Then, hit the “Add
Bluetooth or other device” option.
- Now, hit
the Bluetooth option to verify the device type.
- After that, let your devices connect to each other.
- Go to the Device
Manager option and check the COM port.
- Finally, install the latest drivers for your
printer.
Enter your Comments Here: