
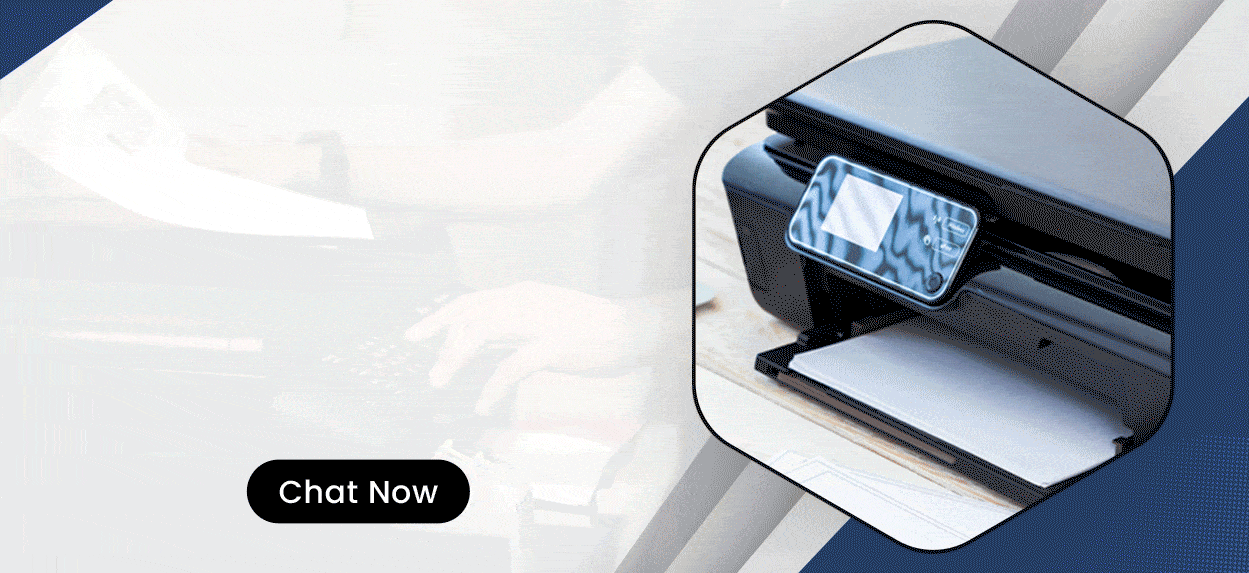
How to Connect New Xerox B230 Printer to Computer and Mobile?
February 15, 2025
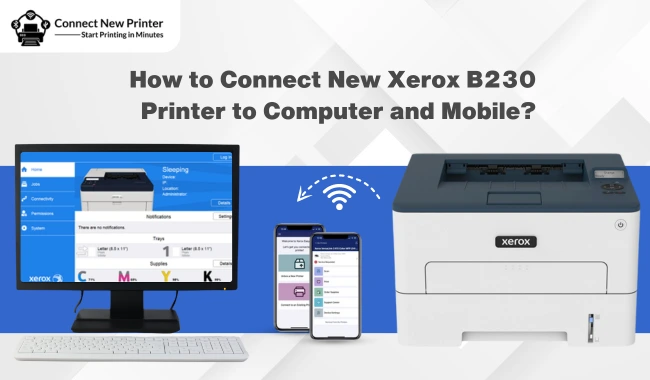

Wondering 'how to connect the new Xerox B230 printer to a computer or mobile'? We’ve got you covered! Setting up a new printer can feel a bit challenging, but we’re here to help. Whether you plan to print, scan, or fax, you’ll need to connect your printer using different methods.
In this guide, we will show you how to connect the Xerox printer to both computers and mobile devices. For computer users, we will explain the steps for both Windows and Mac separately. If you have an Android phone, we will cover two easy ways to connect: using Wi-Fi Direct and your Wi-Fi network. So, let’s get started and make your printing experience simple and fun!
How to Connect New Xerox B230 Printer to Computer?
Before you start adding the printer to your desktop, ensure that your Wi-Fi Direct has been set. Once the Wi-Fi Direct setting is configured, you can start connecting your printer to your computer by following the instructions below:
For Windows Users
- Turn on your PC.
- Tap on the Windows icon key on your keyboard.
- Enter the Settings and then Enter to open it.
- Navigate to Printers & Scanners and click on Add a printer or scanner.

- After that, you will need to select Show Wi-Fi Direct Printers.
- Next, opt for the Wi-Fi Direct name.
- Go to the printer’s display and note down the eight-digit PIN of the printer.
- Finally, enter the PIN on your computer.
Note: If you haven’t downloaded the printer driver yet, your printer will download the right printer driver for you.
For Mac Users
- Turn on your Mac.
- After that, you will need to locate your Mac’s System Preferences.
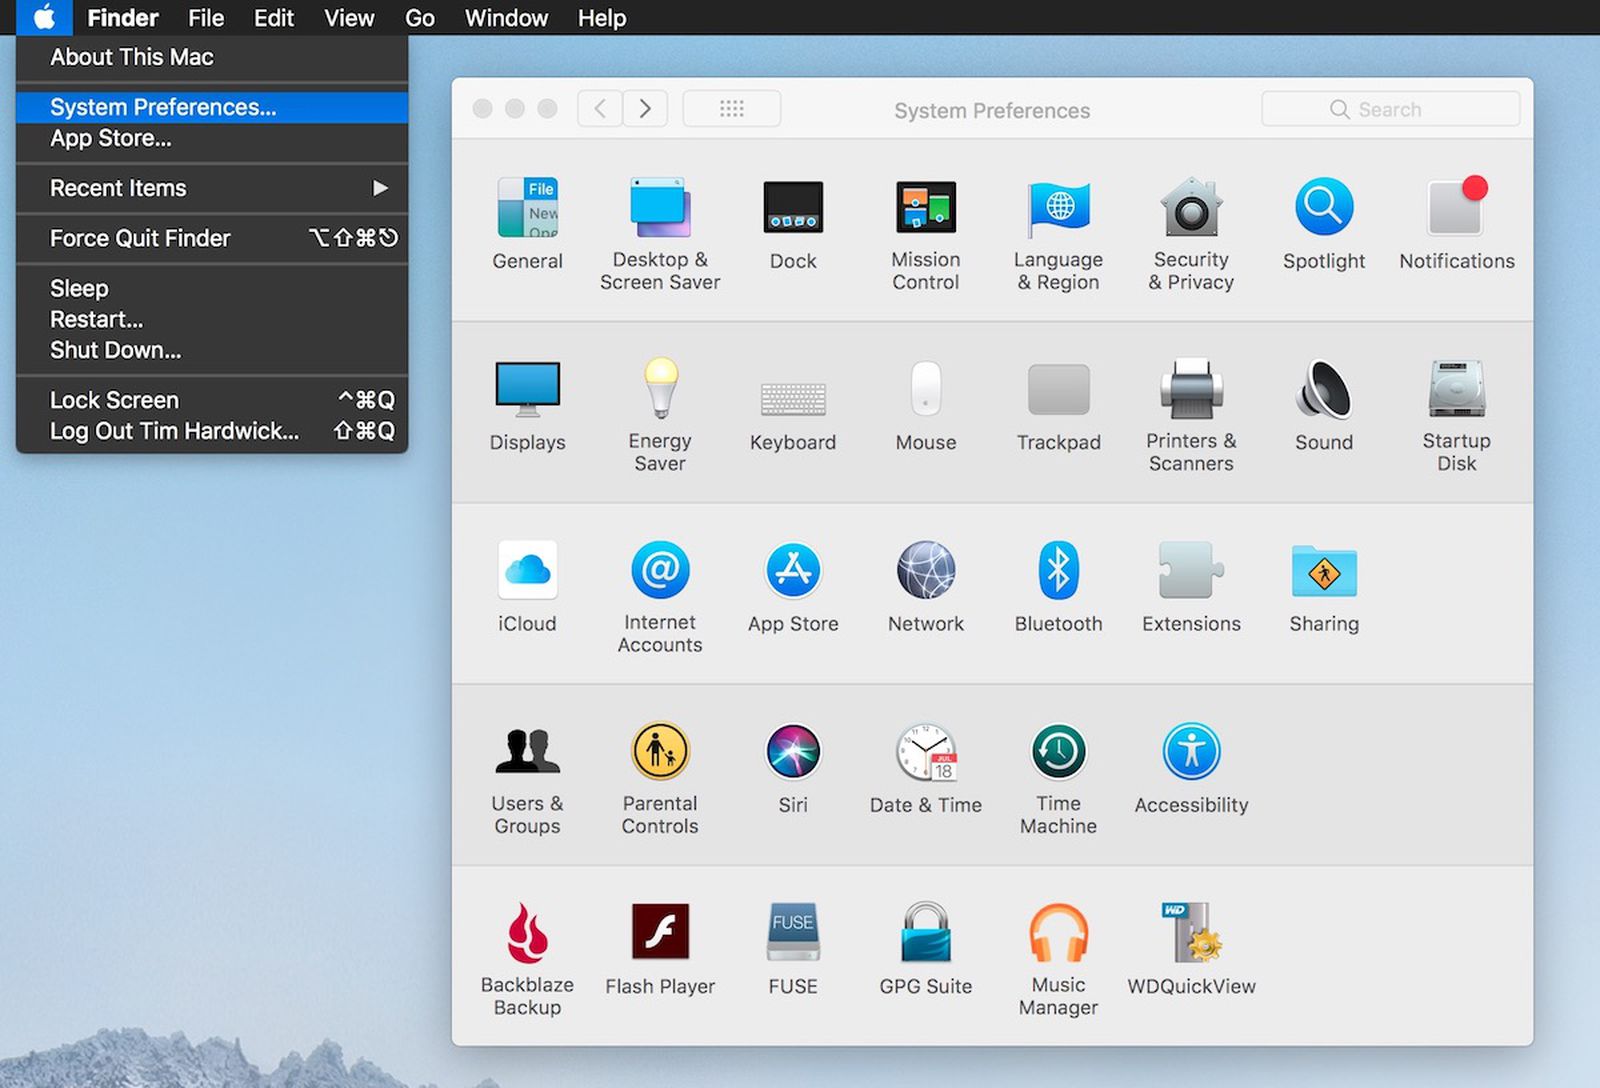
- Then, go to Printers & Scanners.
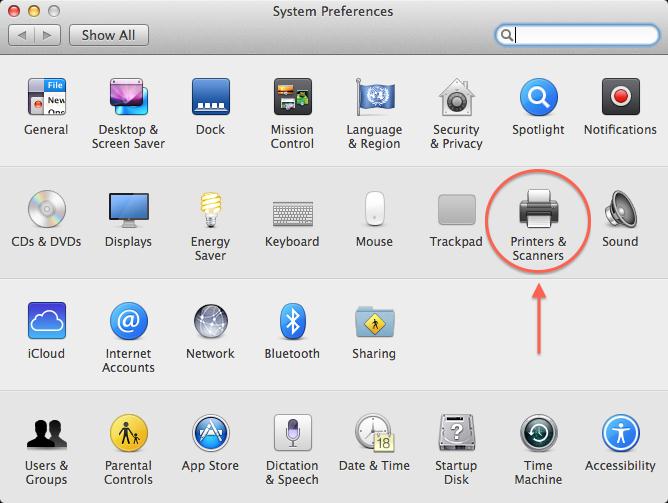
- Now, click the + icon to add your printer.
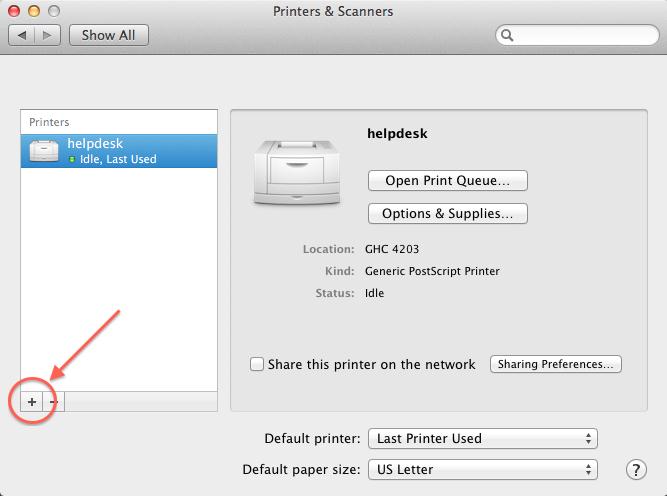
- Afterward, choose the printer model from the list.
Finally, you have successfully added your printer to your Mac.
How to Connect New Xerox B230 Printer to Mobile?
Before you connect your mobile device, it’s important to set up Wi-Fi Direct on your printer. Wi-Fi Direct lets you connect your devices to the printer easily.
Note: These steps are for Android phones and tablets only.
Option 1: Using Wi-Fi Direct
- Go to the Settings menu on your mobile device. This is usually denoted by a gear icon.
- Next, find and tap on Wi-Fi to turn it on if it is not already.
- After enabling Wi-Fi, look for Wi-Fi Direct in the menu. Tap it to open.
- You will see a list of available devices. Look for your printer’s Wi-Fi Direct name and select it.
- Finally, you might need to confirm the connection on the printer’s control panel. This is where you make sure everything is set to connect.
Option 2: Through a Wi-Fi Network
- Start by going to the Settings on your mobile device.
- Tap on Wi-Fi like before, and then look for the printer’s name.
Keep in mind that it will start with “DIRECT-xy,” where x and y are random letters or numbers.
- Select the printer’s Wi-Fi Direct name from the list of available connections.
- The printer might have a password you need to enter. Make sure to type it in correctly to connect your device.
Once you’ve followed these steps, your mobile device should be successfully connected to the printer. You can now print documents, photos, or anything else you need.
How to Verify Xerox Printer Connectivity?
Although you have connected your printer to your preferred device, you need to confirm whether your printer is really connected. Below, we have explained a few steps that will confirm whether your printer is connected properly to your device. Let’s confirm now!
- On your printer, you need to go to the Control Panel.
- After that, go to Settings.
- Then, click on Reports and hit the OK button.
- Next, click on Network and hit the OK button again.
- On the network setup page, go to the first section and verify the connection status.
If your status is not connected, it might be due to your inactive LAN drop or your network cable not being connected properly.
Frequently Asked Questions
Question
How to connect Xerox printer to Wi-Fi?
To connect a printer to Wi-Fi, start by following the steps below:
- Navigate
to the printer’s control panel.
- Then,
look for the network settings on the screen.
- Afterward,
find your Wi-Fi network from the list of available options.
- When
it asks, type in your Wi-Fi password.
- Go to
"Device," then "Network" or "Connectivity" on the
touchscreen. The steps may vary
depending on your printer model.
Question
How to connect Xerox printer to computer with USB?
Follow the steps below to connect:
- Turn off
the printer and computer.
- Connect
one end of the USB cable to the printer’s USB port.
- Connect
the other end of the USB cable to an available USB port on your system.
- Turn
on the printer first, then turn on the computer.
- Wait
for the operating system to recognize the printer.
- Install driver software if prompted, or download it from the Xerox website if needed.
- Test the connection by printing a test page or document.
Question
Why is my Xerox printer not connecting?
If your printer doesn’t connect, there are some common problems to check:
- Make sure
the printer is connected to Wi-Fi and that the signal is strong.
- If you’re
using a USB cord, make sure that it’s securely connected.
- Ensure
the printer is on and there are no warning lights.
- Look for the correct printer drivers on your computer; you can get them from the Xerox website.
- Restarting both the printer and computer can help, too.
Enter your Comments Here: